How I Save $200 a Month Doing My Own Gel X Nails and Pedi — And Still Feel Salon Fresh
Disclosure: This post contains affiliate links. That means I may earn a small commission if you purchase through my links — at no extra cost to you. I only share products I truly love and use myself. 💅
For the longest time, I was paying close to $200 a month for Gel X nails and a gel pedicure. The designs? Gorgeous. But the price tag? Not so cute. I finally decided to try it myself and I’ve never looked back.
Let me start by saying this: I love getting my nails done. It’s one of those small luxuries that always made me feel polished (literally) and pulled together, even on days when I’m juggling everything else. But what I didn’t love was spending close to $200 every month on a full set of Gel X nails and a gel polish pedicure.
The designs were always stunning, but when I started adding up the cost over time, I realized I could probably teach myself how to do them and save major money. Fast forward to now, not only do I do my own nails at home, but I’ve gotten pretty good at it (if I say so myself), and I actually look forward to switching them up every few weeks.
Let me walk you through how I got started, the products I use (all from Amazon!), and how much money I’ve saved in just a few months.
💸 Why I Stopped Going to the Nail Salon
It really came down to time and money. Every month I was spending:
• $120+ on Gel X nails with designs
• $60–$80 on a gel polish pedicure
• Tip, gas, and time… all added up fast
So I decided to try doing it myself, just simple styles at first. I was nervous at first, but with the right tools and a few helpful tutorials, I realized it wasn’t as intimidating as I thought.
💅 What I Use (All From Amazon)

I bought everything I needed to start right on Amazon, from the Gel X kit to polish to removal tools. The best part? It’s all super affordable, and I’ve already made back what I used to spend on one salon visit.
Here’s what’s in my at-home nail kit:
• Gel X Nail Extension Kit – Includes nail tips and glue
• UV/LED Lamp – For curing polish quickly (Flash Cure lamp and Nail Lamp)
• Gel Polishes – I use a few brands depending on the color and finish I want
• Nail Prep Tools – Dehydrate & Bond Primer Kit
• For clean removal – Acetone + Soak Off Clips
• For fun designs when I’m feeling creative – Gold Foil & Detail Brushes
🛒 You can find my full setup on my Amazon Storefront (Here).
💡 Tips That Helped Me Get Better
Doing your nails at home takes some patience, but here’s what helped me improve fast:
• Watch tutorials — I picked up so many tricks just by watching a few YouTube and TikTok videos.
• Practice on one hand first — especially your non-dominant hand!
• Use 100% pure acetone to clean up polish before curing — it helps erase mistakes.
• Always cure between steps — this makes the polish harder and more smudge-proof.
Now my sets last over three weeks with no lifting or chipping!
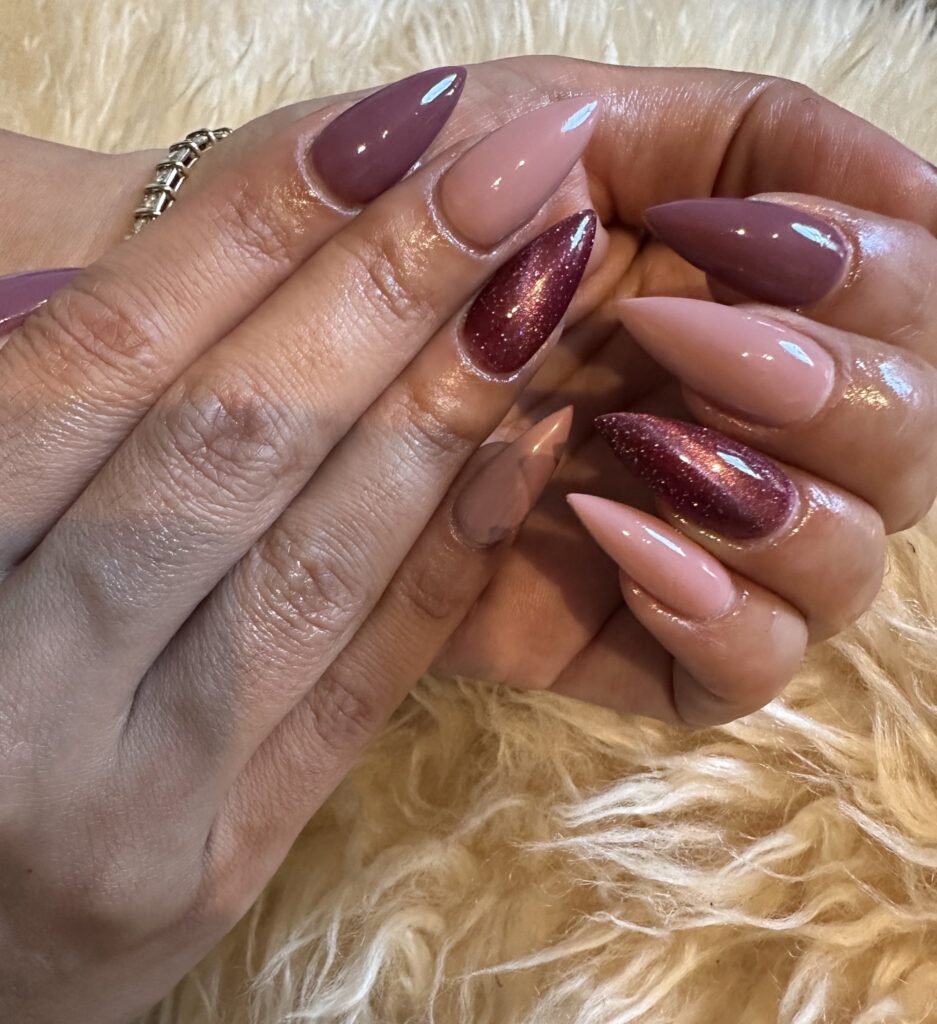
✨ The Fun Part: I Can Switch It Up Anytime
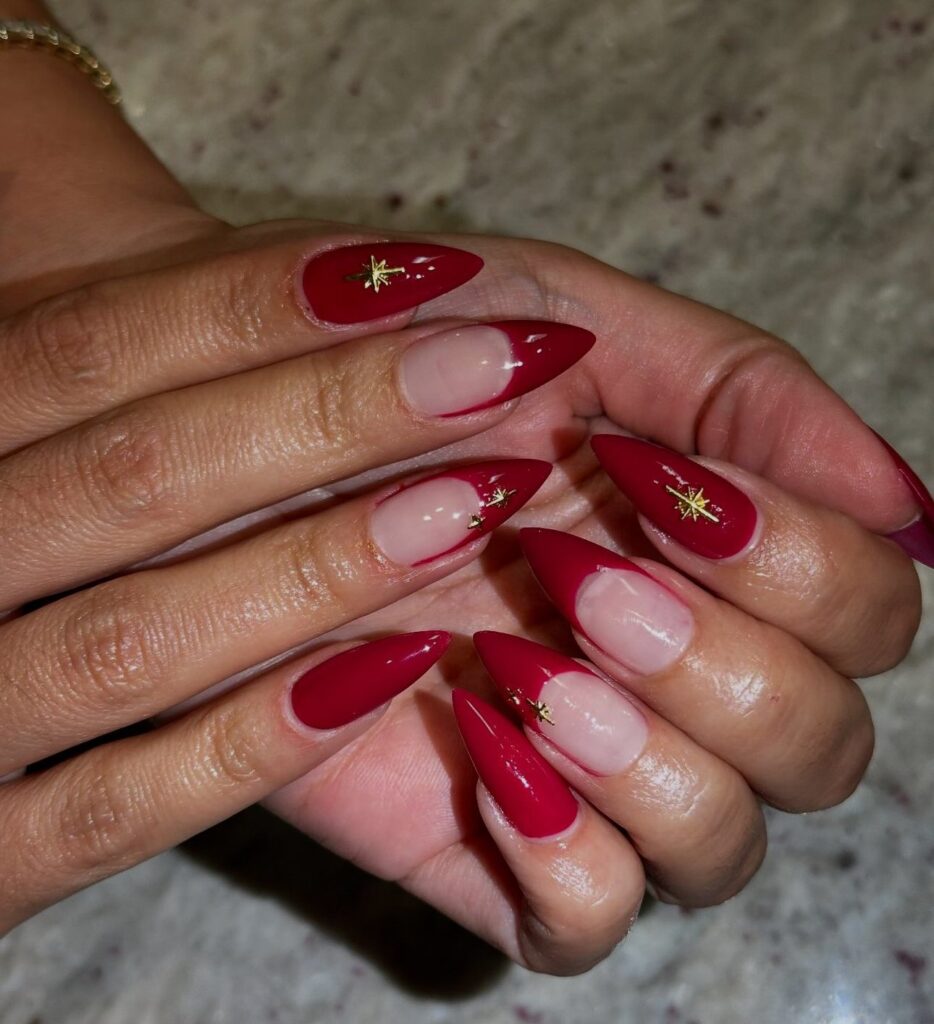
Since I’m doing my nails at home now, I don’t feel bad changing them more often. I used to stretch one set for four weeks, but now I love trying new styles every couple of weeks. Sometimes I go for a simple one-color polish, other times I’ll do fun swirls or gold accents like the set in the photo above.
It’s become something I actually enjoy. Like a little self-care moment at home.
⸻
🧮 What I’ve Saved
Here’s the fun part:
Let’s say I was spending $200/month at the salon.
Now? My full DIY setup cost me around $100 and it’s lasted me months, crazy right? That means I’ve saved over $600 already and counting.
Plus, I’m building a skill I didn’t know I’d love this much.
⸻
Final Thoughts
If you’ve ever considered doing your own nails at home, I 100% recommend giving it a shot. You don’t need to be a pro. Just start simple and be patient. The savings are real, the process can be relaxing, and it’s pretty rewarding to look down and know you did that.
💬 Let me know in the comments if you do your own nails or if you’ve been wanting to try. I’d love to hear what’s worked for you!
Affiliate Disclosure: This post contains affiliate links, including from Amazon and LTK. That means I may earn a small commission if you purchase through my links — at no additional cost to you. Every product I recommend is something I’ve personally used, love, and genuinely believe in. Thank you for supporting my content!
Machavely
Hey, I’m Machavely! I’m a Florida based wife, mom, and lifestyle blogger who’s all about mixing glam with real life. I love sharing everyday beauty finds, packing tips, travel moments, home hacks, and my favorite Amazon must-haves. Whether I’m flying off for a family trip or just organizing my kitchen, I’m here to help you feel polished without the pressure. Welcome to my world, where we keep it cute, cozy, and always real.


You May Also Like
Amazon Must-Haves That Make Everyday Life Easier (and Prettier!)